We’re almost there! We’re happy to unveil Kotlin 1.4.0-RC – the release candidate for the next major version of our programming language. Read on to learn about what has changed in Kotlin 1.4.0-RC, and make sure to try its new features before they are officially released with Kotlin 1.4.0.

A special thanks to everyone who tried our milestone releases (1.4-M1, 1.4-M2, and 1.4-M3), shared their feedback, and helped us improve this version of Kotlin!
This post highlights the new features and key improvements that are available in Kotlin 1.4.0-RC:
Improved *.gradle.kts IDE support
We significantly improved the IDE support for Gradle Kotlin DSL scripts (*.gradle.kts files) in Kotlin 1.3.70, and we’ve continued to improve it for Kotlin 1.4.0-RC. Here is what this new version brings:
Loading script configuration explicitly for better performance
Previously, when you added a new plugin to the buildscript or plugins block of your build.gradle.kts, the new script configuration was loaded automatically in the background. Then, after it was applied, you could use code assistance for the newly added plugin.
To improve performance, we’ve removed this automatic behavior of applying changes to the script configuration upon typing. For Gradle 6.0 and above, you need to explicitly apply changes to the configurations by clicking  Load Gradle Changes or by reimporting the Gradle project.
In earlier versions of Gradle, you need to manually load the script configuration by clicking Load Configuration in the editor.
We’ve added one more action in IntelliJ IDEA 2020.1 with Gradle 6.0+,  Load Script Configurations, which loads changes to the script configurations without updating the whole project. This takes much less time than reimporting the whole project.
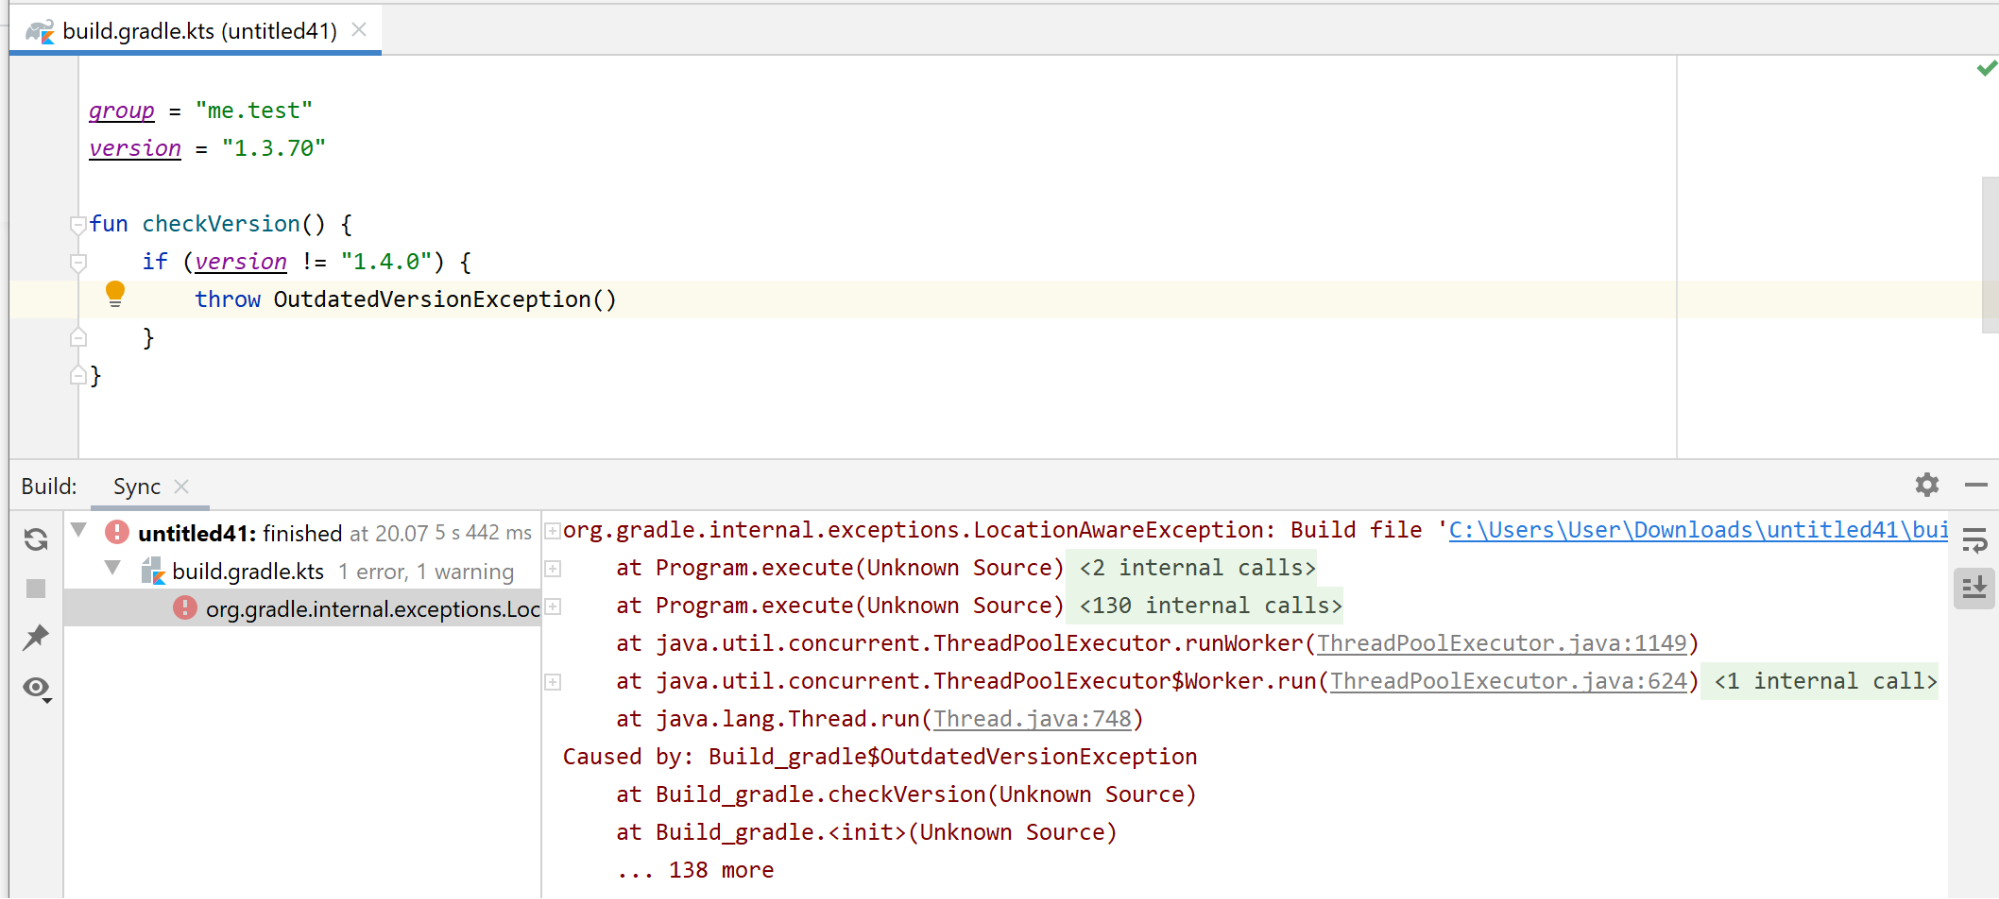
Better error reporting
Previously you could only see errors from the Gradle Daemon (a process that runs in the background and is responsible for all Gradle-related tasks and activities) in separate log files. Now if you use Gradle 6.0 or above, the Gradle Daemon returns all the information about errors directly and shows it in the Build tool window. This saves you both time and effort.
Less boilerplate in your project’s configuration
With improvements to the Kotlin Gradle plugin, you can write less code in your Gradle build files: one of the most common scenarios is now enabled by default.
Making the standard library a default dependency
An overwhelming majority of projects require the Kotlin standard library. Starting from 1.4.0-RC, you no longer need to declare a dependency on stdlib in each source set manually — it will now be added by default. The automatically added version of the standard library will be the same as the version of the Kotlin Gradle plugin, since they have the same versioning.
This is how a typical multiplatform project configuration with Android, iOS, and JavaScript targets looked before 1.4:
...

android()
ios()
js()

sourceSets {
    commonMain {
        dependencies {
            implementation("org.jetbrains.kotlin:kotlin-stdlib-common")
            implementation("org.jetbrains.kotlinx:kotlinx-coroutines-core-common:1.3.6")
        }
    }

    androidMain {
        dependencies {
            implementation("org.jetbrains.kotlin:kotlin-stdlib-jdk8")
            implementation("org.jetbrains.kotlinx:kotlinx-coroutines-android:1.3.6")
        }
    }

    jsMain {
        dependencies {
            implementation("org.jetbrains.kotlin:kotlin-stdlib-js")
            implementation("org.jetbrains.kotlinx:kotlinx-coroutines-core-js:1.3.6")
        }
    }

    iosMain {
        dependencies {
            implementation("org.jetbrains.kotlinx:kotlinx-coroutines-core-native:1.3.6")
        }
    }
}

...
Now, you don’t need to explicitly declare a dependency on the standard library at all, and with hierarchical project structure support, announced in 1.4-M2, you have to specify other dependencies only once. So your Gradle build file will become much more concise and easy to read:
...

android()
ios()
js()

sourceSets {
    commonMain {
        dependencies {
            implementation("org.jetbrains.kotlinx:kotlinx-coroutines-core:1.3.6")
        }
    }
}

...
For platform source sets and backend-shared source sets, the corresponding standard library will be added, while a common standard library will be added to the rest. The Kotlin Gradle plugin will select the appropriate JVM standard library depending on the kotlinOptions.jvmTarget setting.
If you declare a standard library dependency explicitly (for example, if you need a different version), the Kotlin Gradle plugin won’t override it or add a second standard library. And if you do not need a standard library at all, you can add the opt-out flag to the Gradle properties:
kotlin.stdlib.default.dependency=false
Kotlin/Native
Simplified management of CocoaPods dependencies
Previously, once you integrated your project with the dependency manager CocoaPods, you could build an iOS, macOS, watchOS, or tvOS part of your project only in Xcode, separate from other parts of your multiplatform project. These other parts could be built in IntelliJ IDEA.
Moreover, every time you added a dependency on an Objective-C library stored in CocoaPods (Pod library), you had to switch from IntelliJ IDEA to Xcode, run the task pod install, and run the Xcode build there.
Now you can manage Pod dependencies right in IntelliJ IDEA while enjoying the benefits it provides for working with code, such as code highlighting and completion. You can also build the whole Kotlin project with Gradle, without having to switch to Xcode. This means you only have to go to Xcode when you need to write Swift/Objective-C code or run your application on a simulator or device.
Now you can also work with Pod libraries stored locally.
Depending on your needs, you can add dependencies between:
- A Kotlin project and Pod libraries from the CocoaPods repository.
- A Kotlin project and Pod libraries stored locally.
- A Kotlin Pod (Kotlin project used as a CocoaPods dependency) and an Xcode project with one or more targets.
Complete the initial configuration, and when you add a new dependency to CocoaPods, just re-import the project in IntelliJ IDEA. The new dependency will be added automatically. No additional steps are required.
Below you can find instructions on how to add dependencies on Pod libraries from the CocoaPods repository. The Kotlin 1.4 documentation will cover all scenarios.
How to use the CocoaPods integration
Install the CocoaPods dependency manager and plugin
- Install the
cocoapods dependency manager (sudo gem install cocoapods).
- Install the
cocoapods-generate plugin (sudo gem install cocoapods-generate).
- In the
build.gradle(.kts) file of your project, apply the CocoaPods plugin with kotlin("native.cocoapods"):
plugins {
   kotlin("multiplatform") version "1.4.0-rc"
   kotlin("native.cocoapods") version "1.4.0-rc"
}
Add dependencies on Pod libraries from the CocoaPods repository
-
Add dependencies on Pod libraries that you want to use from the CocoaPods repository with pod().
You can also add dependencies as subspecs.
kotlin {
    ios()

    cocoapods {
        summary = "CocoaPods test library"
        homepage = "https://github.com/JetBrains/kotlin"
        pod("AFNetworking", "~> 4.0.0")

        //Remote Pod added as a subspec
        pod("SDWebImage/MapKit")
    }
}
-
Re-import the project.
To use dependencies from Kotlin code, import the packages:
import cocoapods.AFNetworking.*
import cocoapods.SDWebImage.*
We’re also happy to share a sample project with you that demonstrates how to add dependencies on Pod libraries stored both remotely in the CocoaPods repository and locally.
Generate release .dSYMs on Apple targets by default
Debugging an iOS application crash sometimes involves analyzing crash reports, and crash reports generally require symbolication to become properly readable. To symbolicate addresses in Kotlin, the .dSYM bundle for Kotlin code is required. Starting with 1.4-M3, the Kotlin/Native compiler produces .dSYMs for release binaries on Darwin platforms by default. This can be disabled with the -Xadd-light-debug=disable compiler flag. On other platforms, this option is disabled by default. To toggle this option in Gradle, use:
kotlin {
    targets.withType<org.jetbrains.kotlin.gradle.plugin.mpp.KotlinNativeTarget> {
        binaries.all {
            freeCompilerArgs += "-Xadd-light-debug={enable|disable}"
        }
    }
}
Performance improvements
We continue to focus on optimizing the overall performance of the Kotlin/Native development process:
- In 1.3.70 we introduced two new features for improving the performance of Kotlin/Native compilation: caching project dependencies and running the compiler from the Gradle daemon. Thanks to your feedback, we’ve managed to fix numerous issues and improve the overall stability of these features, and we will continue to do so.
- There are also some runtime performance improvements as well. Overall runtime performance has improved because of optimizations in GC. This improvement will be especially apparent in projects with a large number of long-lived objects.
HashMap and HashSet collections now work faster by escaping redundant boxing.
Kotlin/JS
With Kotlin 1.4.0-RC, we are making the @JsExport annotation compatible with the default compiler backend. We are also providing more robust and fine-grained control over npm dependency management and the Dukat integration for Gradle projects, refining our support for CSS, and offering a first look at our integration with the Node.js APIs, among other things.
@JsExport annotation for default compiler backend
In the previous milestones for Kotlin 1.4, we introduced the @JsExport annotation, which is used to make a top-level declaration available from JavaScript or TypeScript when using the new IR compiler backend. Starting with Kotlin 1.4-M3, it is now also possible to use this annotation with the current default compiler backend. Annotating a top-level declaration with @JsExport when using the current default compiler backend turns off name mangling for the declaration. Having this annotation in both compiler backends allows you to transition between them without having to adjust your logic for exporting top-level declarations. Please note that the generation of TypeScript definitions is still only available when using the new IR compiler backend.
Changes to npm dependency management
Explicit version requirement for dependency declarations
Declaring dependencies on npm packages without specifying a version number makes it harder to reliably manage the packages you use. This is why you are required from now on to explicitly specify a version or version range based on npm’s semver syntax for dependencies. The Gradle DSL now also supports multiple ranges for dependencies, allowing you to pinpoint exactly which versions you want to accept in your project, for example:
dependencies {
    implementation(npm("react", "> 14.0.0 <=16.9.0))
}
Additional types of npm dependencies
Besides regular dependencies from npm, which you can specify using npm(...) inside your dependencies block, there are now three more types of dependencies that you can use:
To learn more about when each type of dependency can best be used, have a look at the official documentation linked from npm.
Automatic inclusion and resolution of transitive npm dependencies
Previously, if you depended on a library whose author did not manually add a package.json file to its artifacts, you would sometimes be required to manually import its npm dependencies. This was the case for kotlinx.serialization, for example, which required you to include text-encoding and abort-controller as dependencies in your Gradle build file for the package to work on Kotlin/JS.
Now the Gradle plugin automatically generates package.json files for libraries, and includes them in the jar or klib artifacts. When including a library of this sort, the file is automatically parsed and the required dependencies are automatically included, removing the need to add them to your Gradle build file manually.
Adjustments for CSS support
With Kotlin 1.4-M2, we introduced support for webpack’s CSS and style loaders directly from Gradle via cssSettings. In order to more closely reflect its actual tasks and effects, we have since renamed the configuration parameter to cssSupport. Going forward, the Gradle plugin no longer enables CSS support by default – a setting we had experimented with in 1.4-M2. We hope that this change will prevent confusion for those who include their own settings for how style sheets should be handled (for example by using Sass or Less loaders). In these situations, it would not be immediately obvious that a project’s default configuration already injects some CSS settings that could lead to a conflict.
To turn on CSS support in your project, set the cssSupport.enabled flag in your Gradle build file for webpackTask, runTask, and testTask. When creating a new project using the wizards included in IntelliJ IDEA, these settings will automatically be included in the generated build.gradle(.kts) file:
webpackTask {
   cssSupport.enabled = true
}
runTask {
   cssSupport.enabled = true
}
testTask {
   useKarma {
      // . . .
      webpackConfig.cssSupport.enabled = true
   }
}
We realize that having to adjust these settings individually for each task is not very convenient. We are looking at adding a central point of configuration for cssSupport in the plugin’s DSL (you can follow our progress here).
Improvements for Dukat integration
The Kotlin/JS Gradle plugin adds more fine-grained control to its integration with Dukat, the tool for automatically converting TypeScript declaration files (.d.ts) into Kotlin external declarations. You now have two different ways to select if and when Dukat should generate declarations:
Generating external declarations at build time
The npm dependency function now takes a third parameter after the package name and version: generateExternals. This allows you to individually control whether Dukat should generate declarations for a specific dependency, like so:
dependencies {
  implementation(npm("decamelize", "4.0.0", generateExternals = true))
}
You can use the kotlin.js.generate.externals flag (formerly named kotlin.js.experimental.generateKotlinExternals while it was still experimental) in your gradle.properties file to set the generator’s behavior for all npm dependencies simultaneously. As usual, individual explicit settings take precedence over this general flag.
Manually generating external declarations via Gradle task
If you want to have full control over the declarations generated by Dukat, if you want to apply manual adjustments, or if you’re running into trouble with the auto-generated externals, you can also trigger the creation of the declarations for all your npm dependencies manually using the generateExternals Gradle task. This will generate declarations in a directory titled externals in your project root. Here, you can review the generated code and copy any parts you would like to use to your source directories. (Please be advised that manually providing external declarations in your source folder and enabling the generation of external declarations at build time for the same dependency can result in resolution issues.)
Migration preparation for kotlin.dom and kotlin.browser to separate artifacts
In order to evolve our browser and DOM bindings for Kotlin/JS faster and decouple them from the release cycle of the language itself, we are deprecating the current APIs located in the kotlin.dom and kotlin.browser packages. We provide replacements for these APIs in the kotlinx.dom and kotlinx.browser packages, which will be extracted to separate artifacts in a future release. Migrating to these new APIs is straightforward. Simply adjust the imports used in your project to point to these new kotlinx packages. Quick-fixes in IntelliJ IDEA, accessible via Alt-Enter, can help with this migration.
Preview: kotlinx-nodejs
We are excited to share a preview of our official bindings for the Node.js APIs – kotlinx-nodejs. While it has been possible to target Node.js with Kotlin for a long time, the full potential of the target is unlocked when you have typesafe access to its API. You can check out the kotlinx-nodejs bindings on GitHub.
To add kotlinx-nodejs to your project, make sure jcenter() is added to your repositories. You can then simply add a dependency on the artifact:
dependencies {
    // . . .
    implementation("org.jetbrains.kotlinx:kotlinx-nodejs:0.0.4")
}
After loading the Gradle changes, you can then experiment with the API provided by Node.js, for example by making use of their DNS resolution package:
fun main() {
    dns.lookup("example.org") { err, address, family ->
        console.log("address: $address, family IPv$family")
    }
}
Especially because this is still a preview version, we encourage you to give kotlinx-nodejs a try and report any issues you encounter in the repository’s issue tracker.
Deprecation of kotlin2js and kotlin-dce-js Gradle plugins
Starting with Kotlin 1.4, the old Gradle plugins for targeting JavaScript with Kotlin (kotlin2js and kotlin-dce-js) will be officially deprecated in favor of the kotlin.js Gradle plugin.
Key functionality that was available in these plugins, alongside the kotlin-frontend-plugin (which was already deprecated previously) has been condensed into the new plugin, allowing you to configure your Kotlin/JS target using a unified DSL that is also compatible with Kotlin/Multiplatform projects.
Since Kotlin 1.3.70, dead code elimination (DCE) has been applied automatically when using the browserProductionRun and browserProductionWebpack tasks, which run and create optimized bundles of your program. (Please note that dead code elimination is currently only available when targeting the browser for production output, not for Node.js or tests. But if you have additional use cases you’d like to see addressed, feel free to share them with us on YouTrack)
Additional quality-of-life improvements and notable fixes
- We have added more compiler errors for prohibited usages of the
@JsExport annotation to highlight such problems.
- When using the IR compiler backend, we have enabled a new strategy that includes incremental compilation for
klibs, which is one of many steps we are taking to improve compilation time.
- The configuration for the webpack development server has been adjusted, preventing errors like
ENOENT: no such file or directory when using the hot reload functionality.
Evolving the Kotlin Standard Library API
Kotlin 1.4 is a feature release in terms of Kotlin’s evolution, so it brings a lot of new features that you already know about from previous blog posts. However, another important aspect of a feature release is that it includes significant evolutionary changes in the existing API. Here’s a brief overview of the changes you can expect with the 1.4 release.
Stabilization of the experimental API
In order to ship the new things you want to see in Kotlin libraries as fast as possible, we provide experimental versions of them. This status indicates that work on the API is still in progress and that it could be changed incompatibly in the future. When you try to use the experimental API, the compiler warns you about its status and requires an opt-in (@OptIn annotation).
In feature releases, experimental APIs can be promoted to stable. At this point, we guarantee that their form and behavior won’t change suddenly (changes are only possible with a proper deprecation cycle). Once an API is officially stable, you can use the API safely without warnings or opt-ins.
With 1.4, we are promoting a number of experimental functions in the Kotlin libraries to stable. Here are some examples, along with versions in which they were introduced:
More API functions and classes are becoming stable in 1.4. Starting from this version (1.4.0-RC), using them in your project won’t require the @OptIn annotations.
Deprecation cycles
Feature releases also involve taking the next steps in existing deprecation cycles. While in incremental releases we only start new deprecation cycles with the WARNING level, in feature releases we tighten them to ERROR. In turn, API elements that already have the ERROR level can be completely hidden from new uses in code and only remain in binary form to preserve compatibility for already compiled code. Together, these steps ensure the gradual removal of deprecated API elements.
If your code uses API elements with a deprecation level of WARNING, the compiler warns you about such usages. When you update to Kotlin 1.4.0-RC, some of these warnings will turn into errors. Use the IDE prompts to properly replace erroneous usages with the provided alternatives and make sure that your code compiles again.
Detailed information about breaking changes in the Kotlin Standard Library API can be found in the Compatibility Guide for Kotlin 1.4.
Scripting
We skipped this section in a couple of previous blog posts, but we haven’t stopped working on Kotlin scripting to make it more stable, faster, and easier to use in 1.4. In the RC version, you can already observe better performance along with numerous fixes and functional improvements.
Artifacts renaming
In order to avoid confusion about artifact names, we’ve renamed kotlin-scripting-jsr223-embeddable and kotlin-scripting-jvm-host-embeddable to just kotlin-scripting-jsr223 and kotlin-scripting-jvm-host (without -embeddable). These artifacts depend on the kotlin-compiler-embeddable artifact, which shades the bundled third-party libraries to avoid usage conflicts. With this renaming, we’re making the usage of kotlin-compiler-embeddable (which is safer in general) the default for scripting artifacts.
If, for some reason, you need artifacts that depend on the unshaded kotlin-compiler, use the artifact versions with the -unshaded suffix, such as kotlin-scripting-jsr223-unshaded. Note that this renaming affects only the scripting artifacts that are supposed to be used directly; names of other artifacts remain unchanged.
CLion IDE plugin is now deprecated
We’ve launched a deprecation cycle for the CLion IDE plugin. Originally it was intended to be used to debug Kotlin/Native executables. Now this capability is available in IntelliJ IDEA Ultimate. We’ll stop publishing the CLion IDE plugin after the 1.4 release. Please contact us if this deprecation causes any problems. We will do our best to help you to solve them.
Compatibility
As in all major releases, some deprecation cycles of previously announced changes are coming to an end with Kotlin 1.4. All of these cases were carefully reviewed by the language committee and are listed in the Compatibility Guide for Kotlin 1.4. You can also explore these changes on YouTrack.
Release candidate notes
Now that we’ve reached the final release candidate for Kotlin 1.4, it is time for you to start compiling and publishing! Unlike previous milestone releases, binaries created with Kotlin 1.4.0-RC are guaranteed to be compatible with Kotlin 1.4.0.
How to try the latest features
As always, you can try Kotlin online at play.kotl.in.
In IntelliJ IDEA and Android Studio, you can update the Kotlin Plugin to version 1.4.0-RC. See how to do this.
If you want to work on existing projects that were created before installing the preview version, you need to configure your build for the preview version in Gradle or Maven. Note that unlike the previous preview versions, Kotlin 1.4.0-RC is also available directly from Maven Central. This means you won’t have to manually add the kotlin-eap repository to your build files.
You can download the command-line compiler from the GitHub release page.
You can use the following versions of the libraries published together with this release:
The release details and the list of compatible libraries are also available here.
Share your feedback
We’ll be very thankful if you find and report bugs to our issue tracker. We’ll try to fix all the important issues before the final release, which means you won’t need to wait until the next Kotlin release for your issues to be addressed.
You are also welcome to join the #eap channel in Kotlin Slack (get an invite here). In this channel, you can ask questions, participate in discussions, and get notifications about new preview builds.
Let’s Kotlin!
External contributions
We’d like to thank all of our external contributors whose pull requests were included in this release: